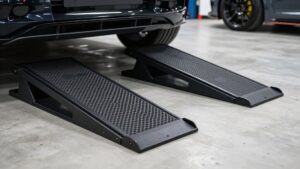
How to Drive Up Car Ramps Without Overshooting or Sliding Them
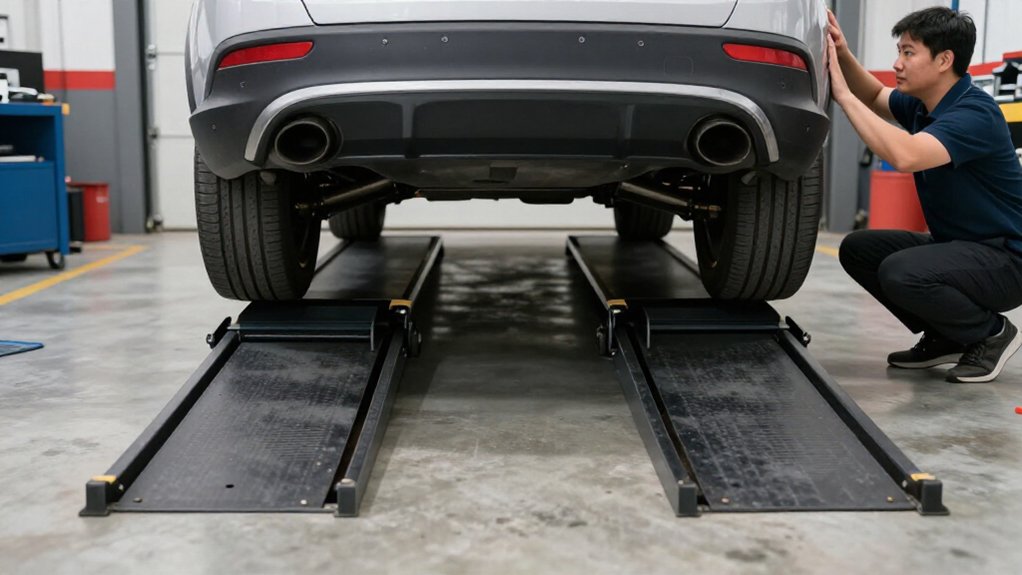
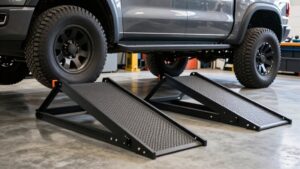
Check both ramps for cracks, bends, loose parts, and a suitable vehicle-weight rating.
Chock rear wheels ahead of and behind one tire, then align ramps straight and evenly with the front tires.
Keep steering straight; have a spotter watch.
Drive steadily at a couple of miles per hour, not creeping or accelerating hard.
Stop if a ramp shifts.
Set the parking brake only when both tires rest on flat sections.
Further tips can help you stay safe.
Avoiding Ramp Slippage
To prevent ramp slippage, place both ramps the same distance from the front tires and center them under the vehicle. Misalignment can make a tire wedge unevenly and push a ramp forward. Stop with your front tires at the ramp bases, then steer straight and drive up smoothly at a couple of miles per hour.
Don’t creep too slowly; steady movement helps the tires engage the ramps rather than shove them ahead. Before transferring the vehicle’s weight, confirm both front wheels sit fully on the flat landing sections. Add grip beneath each ramp’s floor contact points with grip tape, stair pads, or non-slip mats, especially on smooth painted concrete. If a ramp still moves, mechanically stop it with a lengthwise 1×4 braced against the end wall or a securely anchored front board.
Wheel Chocks and Parking Brake
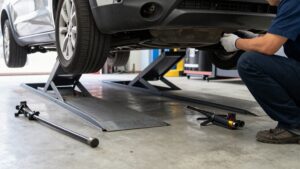
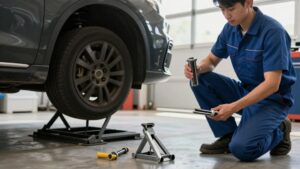
Before driving onto the ramps, chock the rear wheels at two points: place one chock in front of a rear tire and another behind it, to help prevent the car from rolling during the climb.
- Don’t rely on ramp friction alone: chocks help prevent rollback as you mount, while the parking brake limits movement after you stop.
- If your garage floor is smooth, choose soft rubber chocks; hard blocks can slip.
- Once your car is centered and front tires rest fully on the ramps’ flat upper sections, set the parking brake. Then gently rock the car to check stability before you go underneath. Keep the chocks in place, even when the brake is engaged; a ramp shift or overshoot could let the car creep.
Step 1: Inspect Ramp Load Ratings
Check each ramp’s load rating against your vehicle’s gross vehicle weight (GVW), listed on the driver’s door sticker or in the owner’s manual. Choose ramps rated well above that figure; the margin helps reduce failure risk as you drive onto them. Read the manufacturer’s instructions to confirm the rating applies to a pair of ramps, as most ratings assume two are used together. Using fewer can change load distribution.
If your vehicle is front-heavy, or you expect difficult-to-control contact while driving up, choose a higher-rated set to limit overstress or instability.
Inspect each ramp before use. Don’t use one with cracks, rust-through, or bent sections, because damage can weaken it despite its stated capacity. Check reviews; failures below the published limit warrant higher-rated ramps.
Step 2: Align Ramps With Tires
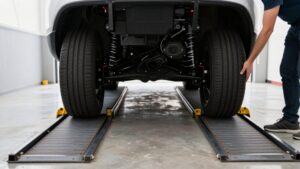
Set each ramp’s lower lip directly in the center of its front tire, with both ramps the same distance from the wheels. Before moving, sight along the car’s side and check that the ramps run parallel and straight. A ramp angled left or right can slide forward beneath a tire.
Make sure the steering wheel points straight; if it’s off center, stop and re-center it before you try again. This helps each tire climb the ramp face squarely instead of pushing the ramp sideways. Drive at a couple of miles per hour, rather than creeping slowly, which can let a wheel ride and walk the ramp.
Keep moving under control and confirm both front wheels reach the flat sections, not the sloped transitions, before continuing upward.
Step 3: Have a Spotter Guide You
With the ramps aligned, have a spotter stand slightly to the side, clear of their path, and watch each front tire as you drive up. Have them sight down your car’s centerline and confirm both ramps stay straight and equidistant from the front tires. They should verify each tire reaches the top plateau without passing its end lip.
Have your spotter watch for ramp movement, especially on smooth painted concrete. If either ramp slides, they must call “stop” immediately. Reposition the ramp or add grip before trying again. Once both tires sit fully on the top plateau, wait for your spotter’s signal to stop. Ask them to confirm each tire has passed the small end bump; then park and engage the parking brake.
Step 4: Use Steady, Gentle Throttle
Once the tires meet the ramps, drive straight up with steady, gentle throttle—slowly rolling can let the ramps scoot forward. Use a smooth, continuous push, aiming for a controlled pace of a couple of miles per hour.
Don’t creep, brake, or feather the throttle mid-climb; changes in power can disrupt the tire’s path. Keep the wheels centered on each ramp and avoid hard acceleration, which could carry you past the small end bump. As you near the top, ease off the throttle early.
Let the front wheels roll smoothly onto the flat rather than striking the ramp’s end. This measured approach helps the tires stay aligned and reduces the risk of sliding forward or overshooting. Use care throughout the climb.
Step 5: Pause if Ramps Shift
If a ramp shifts as you approach, stop immediately—don’t try to correct it while driving. Set ramps back at same left/right distance from your front tires, then center them. Before restarting, roll forward until your tires touch ramp bases. Check that ramps sit square with the car. Drive up at about 2 mph; creeping too slowly can let them slide.
If the tires don’t pull against the ramp lips, pause, back off, and straighten your wheels so the tire meets the ramp’s center. Once your wheels reach the flat sections, check that ramp bottoms haven’t moved forward. If they have, secure them with grip tape or a non-slip pad. With parking brake set, rock the car. If a ramp moves, stop and reposition before continuing.
Step 6: Store Ramps Indoors
Store ramps indoors on a dry, non-slip surface to keep their undersides clean and grippy for the next use. Don’t place them on painted or bare concrete floors, where grit can collect and contaminate the rubber pads.
Keep ramps flat or in a stable rack; bending and cracks can make them flex, overshoot, or slide under load. Store them securely and safely where doors or passing items won’t knock them out of position.
Before each use, wipe the underside and tread to remove dust, oil film, and garage debris that can reduce tire friction. If you use door mats, foam mats, or grip tape beneath the ramps, store those indoors too. Reinstall them only after you’ve cleaned the contact area, so the ramps won’t creep forward.
Confirm Level Stance
Before driving on, park on hard, level ground and check that both ramps sit flat without rocking. Concrete usually grips better than a smooth or painted floor. Set the ramp bottoms the same distance from the front tires and align both ramps at the same angle, so the car’s weight will load them evenly.
Sight along each lane from the side: keep the lips parallel to the ground, with no left-to-right twist. If you add grip tape or mats beneath the bottoms, recheck the stance; uneven thickness can tilt a ramp and raise overshoot risk. For a dry run, roll forward slowly until the front tires just touch the ramps, then stop without turning. Check tire tracks are centered and ramps remain level before proceeding.
Engine Revs, Car Won’t Climb
When the engine revs but the car won’t climb, stop rather than feathering the throttle. Brake, then check alignment before trying again. Center both ramps, keeping them equally distant from the front tires; misalignment can make tires spin instead of bite. Slide each ramp against its tire so the tread rests firmly at the start lip.
Check that ramp surfaces and floor provide grip; paint or grease can cause slipping. Then reposition tires on the flat, centered contact area and approach steadily at a couple of miles per hour, slightly faster than you might expect.
| Symptom | Likely issue | Safe response |
|---|---|---|
| Wheelspin | Poor alignment | Recenter tires |
| Ramp creeps | Too slow | Use steady approach |
| Slip | Slick surface | Restore grip first |
Stop immediately; don’t force it.
Check Ramp Cracks Before Use
A steady approach won’t help if a ramp is damaged, so inspect both ramps before every use. Check the main load-bearing faces and wheel-contact edges for cracks, splits, or hairline fractures. Look underneath and examine the lip where each tire moves onto the ramp; damage there can catch a tire and contribute to overshooting.
Never drive onto a ramp with rust-through, bent or warped sections, loose or missing parts, or surface damage that might worsen under your vehicle’s GVW. If a crack or defect could spread, replace the ramp; don’t patch it. A failure can shift and disrupt wheel placement. After positioning the ramps, press each face by hand. If it moves or flexes excessively, don’t use it. Find an undamaged setup before driving up.
Conclusion
Before you drive onto ramps, inspect their ratings and surfaces, position them squarely against each tire, and ask a spotter to guide you. Use wheel chocks and the parking brake once the car’s secure, then confirm it sits level before working underneath.
If the tires won’t climb, don’t add throttle; stop and reassess alignment and traction. Replace cracked ramps, and store them indoors. These checks help you prevent sliding, overshooting, and serious injury every time.
Car Ramp Angle & Length Calculator
Find a car ramp's angle, percent slope and length from its rise, and the ramp length needed to stay within a low car's approach angle.
Home Garage Lift Clearance Checker
Check if a car lift, ramp or jack fits under your garage ceiling: usable rise, headroom and pass/fail from your own measurements.