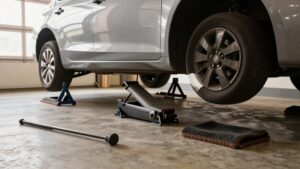
How to Use Car Ramps Safely: Alignment, Chocks and Parking Brake
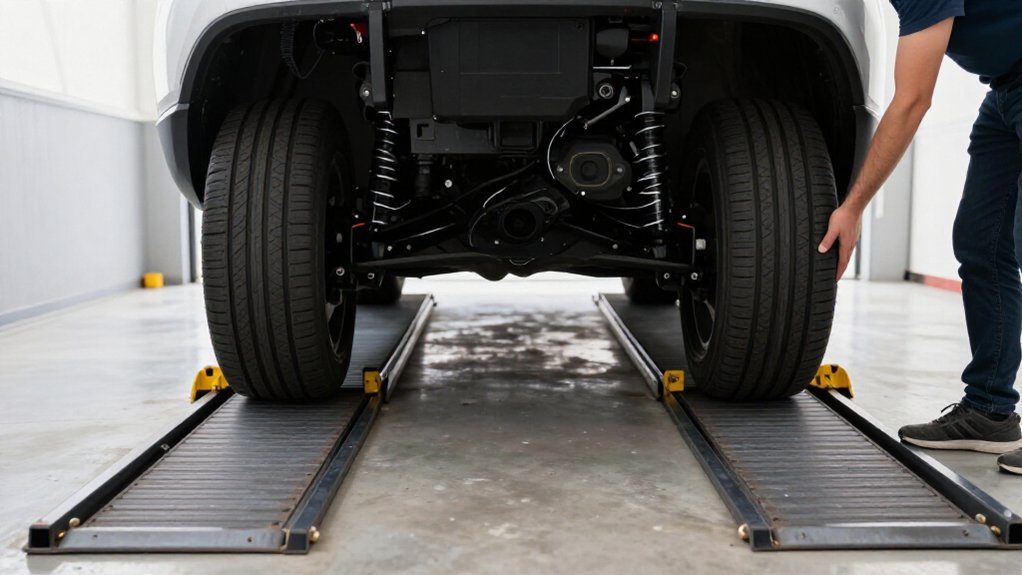
On level, solid ground, inspect each ramp for cracks or warping and confirm its capacity meets your vehicle’s GVW.
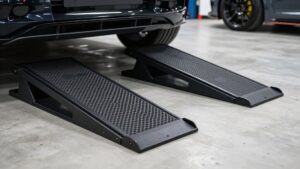
Set ramps straight against the same axle’s tires, centering each tire.
Drive slowly with wheels straight until both tires sit fully on the flat tops and stops.
Press the brake, shift to Park or first gear, engage the parking brake, and chock every wheel remaining on the ground.
Check stability and leaks before work.
More follows.
Ramp Alignment and Chocking
Set both ramps against the same axle on flat, solid ground, keeping each ramp straight and centered with its tire. Before loading, slide each ramp forward until it touches the tire. Align each tire with its ramp’s centerline as you drive up slowly in Drive or Forward, or gently shift from Reverse to Drive.
Keep the wheel centered; an off-center approach can send it over the ramp’s edge. If a ramp slides, stop and correct alignment and traction before trying again. Use grip pads or rubber stops beneath the ramps rather than increasing speed. Once the vehicle rests on the ramps, chock the wheels that remain on the ground. Wedge each chock against its tire to prevent the vehicle from rolling while you work.
Set the Parking Brake
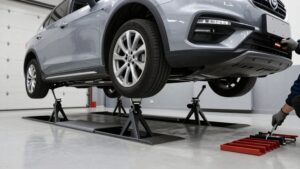
Once the vehicle’s wheels are fully on the ramps’ flat tops, press the brake pedal, shift an automatic into Park or a manual into 1st gear, then engage the parking brake. Keep it engaged while you verify that each wheel sits centered and straight on its ramp, and before you begin any tool use or repair.
The parking brake is your primary anti-roll measure, but it doesn’t replace wheel chocks; ramps can shift when traction or contact is poor. Use these checks:
- If it doesn’t hold securely, stop; reposition ramps and chocks, then verify brake operation before proceeding.
- Keep it engaged during checks and repairs.
- After all diagnosis and repair, disengage it only then; select Reverse first and roll down gently under brake control.
Step 1: Choose Level Ground
Before driving onto the ramps, choose a flat, solid surface, such as a garage floor or level parking lot. A level base helps keep the ramps from shifting or changing their angle. Don’t use them on a slope or uneven ground; even an incline can let your vehicle roll unexpectedly and increase the chance it’ll slip or fall off.
Choose firm, dry ground with good traction, such as concrete or level pavement. Soft, wet, or slippery surfaces can reduce grip. Set a ramp so its footprint rests evenly on the ground without rocking; placement can misalign it and let a tire slip.
Make sure the area around the ramps is stable and clear before you approach. Don’t try to correct ramp alignment while your vehicle is climbing.
Step 2: Inspect Ramp Condition
Inspect each ramp before use, and replace it if you find cracks, major bends, deep deformation, missing grip pads, or loose or damaged parts. Check ends and traction blocks for looseness; any part that shifts can destabilize a ramp.
Clean the ramp surface, and reject it if wear has smoothed its texture. The non-slip surface must grip the tire; dirt or worn areas can reduce traction.
Confirm each ramp’s weight capacity meets or exceeds your vehicle’s gross vehicle weight (GVW). Find GVW on the driver’s door sticker or in the owner’s manual. Set each ramp on the ground and press it firmly. It should sit flat without rocking. Don’t use ramps on soft or uneven ground, where changing contact can increase slip risk.
Step 3: Choose Park or First Gear
After the wheels are fully seated on the ramps and the vehicle has stopped, select Park in an automatic or 1st gear in a manual, then apply the parking brake.
Set the gear only after you’ve stopped; don’t shift while the vehicle is moving onto the ramps. Park helps secure an automatic’s drivetrain; 1st gear, the low gear, helps a manual resist rolling. Engage the parking brake firmly.
Don’t rely on it alone: gear selection plus the brake gives you redundant anti-roll protection, not a guarantee against movement. Keep the opposite wheels chocked while you work, since incorrect gear selection or ramp use can still let the vehicle move. Check stability before going underneath; consult your owner’s manual if unsure of the correct procedure.
Step 4: Drive Up Slowly and Straight
With the wheels chocked and the parking brake ready, line both ramps up evenly against the tires and keep them straight. Drive slowly with the wheels pointing straight so each tire climbs the ramp face without drifting sideways or catching a raised lip. Use gentle, steady throttle as the front wheels roll onto the ramps; avoid sudden acceleration or braking.
Watch the ramps. If one starts to slide, stop immediately. Don’t speed up to force traction. Set the vehicle back down if needed, then improve grip with the ramps’ rubber stops or grip pads, or place a board to limit forward movement.
Stop when both front wheels are fully on the flat top sections. Check that each wheel sits centered before proceeding with work.
Step 5: Avoid Ramp Edge Overhang
Center each tire fully on the ramp’s flat top section, with no part hanging over an edge. Stop when each wheel rests completely on the flat top; don’t leave it halfway on the raised edge. An overhanging tire can slip or drop back, so don’t keep driving forward if it sits near the outer lip. Back off carefully, then realign the ramp and tire before trying again.
Keep each ramp straight against its tire, and place it on a non-slip pad or grip surface to reduce outward movement. Once loaded, check that both wheels sit evenly on their ramps. If your ramps have a top rest indicator dip, use it to confirm each tire has reached the safe seating point. Verify full tire contact.
Step 6: Check for Fluid Leaks
Before driving onto the ramps, inspect the ground and look under the vehicle for fresh wet spots or drips. Check beneath both ends for streaks near the oil pan, power steering lines, radiator hoses, and transmission pan. Identify the fluid before you proceed: oil is often dark and oily; coolant may be green, orange, or pink and slippery; brake fluid is often clear to amber and sticky-slick; transmission fluid often looks reddish-brown.
Make sure the leak area is dry and clean enough to check again once the vehicle is elevated. Watch seals, hoses, and the differential for new drops. If you spot an active leak, stop. Don’t drive the vehicle onto the ramps; running it there could worsen the leak and leave a slippery hazard.
Confirm Contact With Stops
Check that each ramp’s rubber grip pads or raised stops will meet the tire on the flat top, not at its edge. Before you drive up, center each wheel on the ramp face. Press the ramp against the tire so its width contacts the ramp and the traction features line up with the tire.
Once you’re on the ramps, stop with each wheel fully on the flat top, clear of the slope. Visually check that both wheels at that end rest against the top section and stops. Don’t release the brake or begin work until you’ve confirmed firm contact. If a ramp sits off-center, reposition it and realign the vehicle; don’t nudge the car while a tire partly contacts the top or stop area.
Vehicle Won’t Climb Ramp
If your vehicle won’t climb the ramp, stop and check that each ramp sits flat, straight, and aligned with the tire. Center each wheel on the ramp face; don’t strike its raised edge. Confirm the pair’s rating exceeds your vehicle’s GVW.
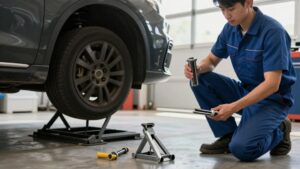
Chock the wheels still on the ground, add grip pads beneath ramps, and select the appropriate gear.
Drive slowly and straight with steady power; too much throttle may spin tires, while too little may stall the climb. If ramps slide, stop. Reseat them, or brace them against a solid surface before trying again.
| Check | Action |
|---|---|
| Alignment | Center each wheel on ramp face |
| Rating | Choose pair rated above vehicle GVW |
| Sliding | Stop, reseat, or brace ramps securely |
Never keep applying throttle when traction fails.
Clean and Store Ramps
Once the vehicle is safely off the ramps, brush dirt, grit, and road salt from the traction surfaces and rubber pads, rinse with water, and let everything dry completely before storing. Use a stiff brush to clear debris, then inspect for cracks, warping, or deformation, especially at the top lip and edges. Don’t use damaged ramps; they may not grip reliably.
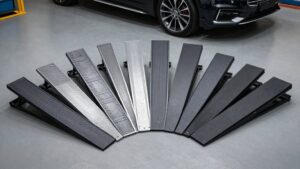
Store them on a clean, dry, flat surface or hang them, away from moisture and debris that could make the next climb slippery. Keep them out of direct sun and heat when possible, particularly heavy-duty plastic ramps, to limit wear. Store each pair with its chocks and grip pads, so you can find all components and assemble them correctly before your next use.
Conclusion
Before driving onto ramps, choose firm, level ground and inspect each ramp for damage. Align both ramps with the tires, chock the wheels that’ll stay on the ground, and set the parking brake. Use Park for an automatic or first gear for a manual.
Climb slowly, then confirm each tire rests securely against its stop. If a vehicle won’t climb, stop and reassess; don’t force it. Check for leaks before working, and clean and store ramps after use.