
2 Post Car Lift Electrical Requirements: 110V Vs 220V and Breakers
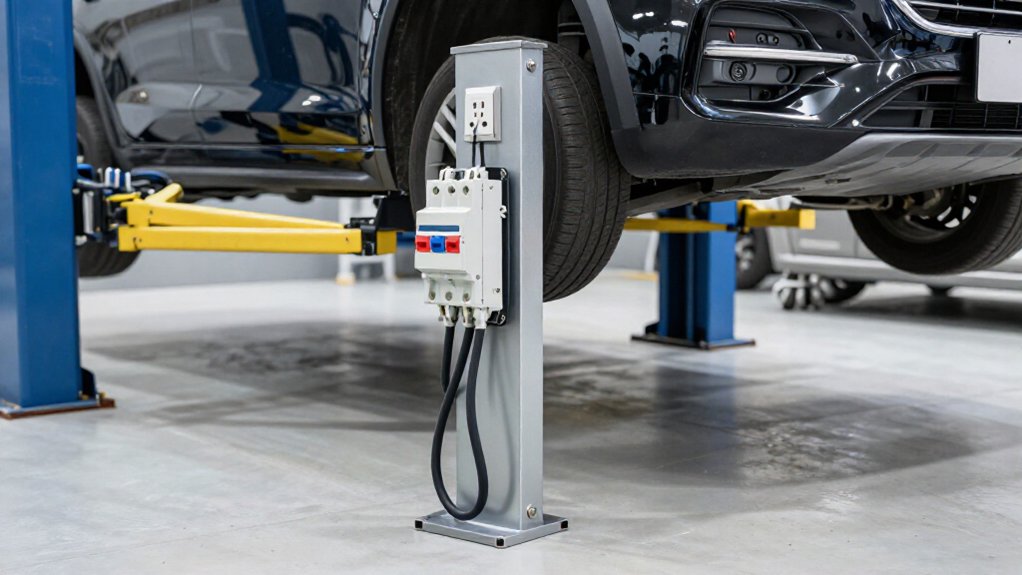
Check your lift’s motor nameplate and manual before choosing a supply: voltage, phase, frequency, and full-load amps must match.
A 110V model can’t automatically use 220-240V, or vice versa. Many lifts need a dedicated 220-240V single-phase circuit with a 30A two-pole breaker, but the manufacturer’s requirements govern.
Size conductors and overcurrent protection to those specifications, and install the lockable disconnect near the power unit.
Startup draw and shared loads matter; the details below clarify planning.
Motor Nameplate First
Start with the lift’s power-unit data plate, not the brochure: it specifies the motor’s voltage, phase, frequency, and horsepower, which determine the electrical requirements. Read the power-unit plate and compare its ratings with your shop supply and lift manual.
A 2-post lift may require 240-volt, single-phase power; don’t assume a 120-volt outlet will work. Confirm frequency, typically 60 Hz, and horsepower. Use the nameplate’s full-load rating for electrical planning, and follow the manufacturer’s conductor and overcurrent-protection requirements. The breaker may need to accommodate motor starting, so don’t choose it solely from observed running behavior.
If voltage or phase doesn’t match the plate, stop and have a qualified electrician verify the circuit before energizing the lift. Check voltage before connecting or commissioning the equipment.
Lift Motor Amp-Draw Chart
Use the lift’s power-unit data plate to estimate motor current: many two-post lifts draw roughly 15–30 amps while running, with higher current at startup, and a 3 HP, 240V single-phase model may draw about 12–13 amps while lifting.
Treat these figures as estimates, not circuit-sizing values; your nameplate and installation manual govern.
| Lift example | Running draw | Startup draw |
|---|---|---|
| Many models | 15–30 A | Above running |
| 3 HP, 240V | 12–13 A | Above running |
Because inrush exceeds running current, don’t select a breaker from a movement-only reading. Check the power-unit data plate’s full-load amps and follow the lift manual and applicable code for a dedicated branch circuit. Voltage changes current for the same motor load, so verify the listed equipment before choosing conductors or overcurrent protection; never copy another lift’s chart. Follow local requirements.
Voltage, Phase, and FLA
Before wiring, match the lift’s data-plate voltage, phase, and frequency exactly. Typical two-post lifts use single-phase power at 110V or 220/240V; confirm whether your model requires 60-Hz supply. A 110V unit often falls near the 20A range, while a 220/240V model may be near 30A, but don’t treat these figures as specifications.
Read the nameplate and manual. For electrical planning, distinguish full-load amps (FLA) from other current values. Some 240V, 3HP lifts draw about 12–13A while raising, despite needing a larger protective device. Voltage also affects current: the same motor power generally requires more current at lower voltage. Supplying incorrect voltage or phase can increase current, trip protection, or damage the motor. Verify voltage, phase, frequency, and FLA before connecting power.
Breaker and Wire Sizing
Size your breaker to the lift manual’s specified rating, using full-load amps—not lower running current—and don’t exceed that rating to accommodate startup surge.
Select wire gauge by applying the 125% motor rule, then check manufacturer instructions, electrical code, and run distance for voltage drop; a typical 30A, 240V circuit often uses 10 AWG copper. Install the lift on a dedicated circuit with the correct voltage and breaker configuration.
Breaker Ampacity
For a typical 240V two-post lift, the manual may specify a 30A two-pole breaker even when the power unit draws only 12–13A while lifting. That measured running current doesn’t set breaker size. NEC motor-circuit sizing uses motor full-load current and applies a 125% ampacity calculation.
For example, a 3-HP single-phase motor at about 230V may have a 17A full-load current, yielding a minimum conductor ampacity of 21.25A before adjustments. You must follow the lift manufacturer’s specified breaker and disconnect requirements, along with electrical code. Don’t increase the breaker above the listed rating to stop nuisance trips; a larger breaker can weaken overload protection and expose the motor and wiring to excessive current. Have an electrician verify the circuit design and overcurrent protection before energizing the lift.
Wire Gauge Selection
Choose wire gauge from the lift’s data plate or manual full-load amps—not the lower current you might measure while it’s running—and verify it against the breaker, circuit type, run length, and local code.
For many 240V single-phase lifts, your manual may specify a 30A two-pole breaker and 10 AWG copper. Don’t assume that pairing fits every installation: a long run can require larger conductors to control voltage drop, and local code may impose additional limits.
If you use a receptacle, match the conductor gauge to the receptacle and circuit rating; a 30A receptacle circuit commonly requires 10 AWG copper. Hardwired conduit installations may allow different sizing under applicable code provisions.
Check conductor insulation temperature ratings and the terminals’ ratings when determining allowable ampacity; don’t select wire by gauge alone. A lift drawing about 12–13A during motion may still require the specified 10 AWG and breaker. Have a licensed electrician confirm the final design before you energize the lift.
125% Motor Rule
Apply the 125% motor rule to the lift’s full-load current on its data plate or in its manual—not a lower running-amp reading—to determine the minimum conductor ampacity; for example, 17 A × 1.25 = 21.25 A.
Use that calculation for conductor sizing, then select the breaker according to the lift manufacturer’s instructions and code; the 125% figure isn’t automatically the breaker rating. Your lift can draw more during startup than during lifting, so its specified larger breaker can help prevent nuisance trips while the motor’s overload protection guards against overload. For many 240V two-post lifts, the manual may call for a 30A two-pole breaker.
Don’t install a breaker larger than specified unless the manual and code calculation support it; oversizing can weaken overcurrent protection. Check the nameplate and manual, and have a qualified electrician verify the installation before energizing the lift.
Voltage And Distance
Voltage and run length both affect breaker and wire sizing: a typical 240V, single-phase 3 HP lift may use a dedicated 30A two-pole breaker and 10 AWG copper on a run under about 50 feet, while a longer run may require larger conductors to limit voltage drop and meet code. For a 110/120V model, expect roughly 20A and 12 AWG, with slower operation than at 240V under comparable current limits.
Don’t size from running amps alone: check the lift’s data plate or manual for full-load amps. Motor-circuit rules may require conductors sized at 125% of that value, alongside NEC ampacity and voltage-drop requirements. Give your electrician the panel-to-lift distance and cable route; they can select the gauge and disconnect location for your equipment and installation.
Dedicated Circuit Requirements
Because a 2-post lift can draw a brief startup surge, give it a dedicated circuit rather than sharing one with a compressor, welder, or heater. Use the breaker rating in your lift’s manual; many 240V models specify a 30A, two-pole breaker, even when running current is much lower.
Size conductors from the lift’s data-plate full-load current and applicable NEC motor-circuit rules, not just an observed operating reading. For motor branch circuits, the typical 125% factor sets minimum conductor capacity. A 3-HP lift may draw roughly 12–13A while raising, but that figure alone doesn’t establish wire size.
For a 240V, 30A installation, electricians often use 10-AWG copper with an equipment ground. Required gauge can vary with circuit length and local code; have a qualified electrician verify the design, breaker, wiring, and follow the manual.
Position the Disconnect
Mount the lift’s required, lockable disconnect within sight of the power unit so you can shut off power quickly during service. Follow the lift manual’s specified disconnect type and rating; a lockable switch lets you isolate the unit and secure it against unintended re-energizing while you work. If the manual says thermal protection isn’t included, don’t assume the disconnect provides it; confirm required protection separately.
Most two-post lifts use a dedicated 240-volt, single-phase circuit, often with a 30-amp double-pole breaker, feeding the power unit through the disconnect. Have your electrician size the disconnect and conductors from the data plate or manual full-load amps, not typical running amps, to accommodate startup surge. Don’t substitute a plug and receptacle unless the manual expressly permits that method.
Cold-Weather Hydraulic Startup
When temperatures drop, thick hydraulic oil increases internal resistance, so a lift may rise slowly until the fluid warms.
You may notice a stronger motor startup surge in cold conditions because startup current exceeds running current. Confirm your lift’s specified voltage, wiring, and breaker rating before operation; don’t compensate for sluggish movement by changing electrical protection.
On a 110V model, the full-rise cycle can take longer, and cold oil may delay normal hydraulic response.
Keep your shop above freezing or warm the oil area as the manufacturer’s instructions allow. This can reduce slow or jerky initial motion and help the lift reach normal speed.
If it remains unusually sluggish despite correct electrical specifications, assess hydraulic warming or maintenance needs rather than assuming a wiring fault.
Sharing a Garage Circuit
On a shared garage circuit, other loads can leave too little capacity for a lift’s high startup current, causing voltage drop or nuisance breaker trips even when the lift’s running draw is modest.
A refrigerator, compressor, welder, or heater may be operating when you start the lift, adding demand at the moment the motor draws inrush current. A typical 3 HP, 220–240V single-phase lift may list 12–13A lifting current yet require a dedicated 30A two-pole breaker; startup surge explains why those figures don’t set breaker size.
A 110V model may call for a dedicated 20A circuit with 12-gauge wire and a 5-20R receptacle, and repeated cycles can still overload a shared circuit. Treat the lift as needing its own circuit.
Before installation, match breaker, conductor, and disconnect requirements to the lift’s data plate and manual; don’t infer capacity from the outlet alone. Have a qualified electrician verify the branch-circuit design and local code before energizing your lift equipment.
Troubleshoot a Humming Motor
If your lift motor hums instead of starting, treat it as a possible low-voltage or connection fault, not just a weak motor. A humming motor is often energized but under-voltage, especially when a shared circuit or long, undersized wiring sags during startup. Stop repeated attempts; excess current can damage the motor.
- Confirm the lift receives its specified single-phase voltage; a miswire may deliver 110V.
- Check the dedicated breaker against the data plate or manual; many 3HP lifts require 30A, two-pole.
- Note whether the hum is brief or continuous; sustained humming can indicate a failed contactor or stalled mechanism.
- With power isolated, inspect motor/control housing leads for looseness or heat damage.
If checks fail, stop and have a qualified electrician diagnose the circuit before restarting.
Confirm Control-Box Terminal Labels
Before connecting power, match the control-box terminal labels to the lift’s data plate and manual; labels such as L1/L2, LINE/LOAD, or A/B identify the required 120V or 240V wiring scheme. Don’t rely on the breaker rating alone: the box’s configuration must match the lift’s supply.
- Check any internal jumper or link; set it only to the voltage position shown on the labels.
- Match neutral (N), if provided, and each line leg to the documented single-phase diagram.
- Bond the grounding conductor to the designated G or PE terminal before energizing.
- Photograph labels, wire colors, and connections before changes; give the image to your electrician for manual cross-checking.
If markings conflict or remain unclear, stop and have an electrician verify this diagram before you apply power.
Conclusion
Before you energize your two-post lift, read the motor nameplate and ensure voltage, phase, and full-load amps match your supply. Size the breaker and conductors to the manufacturer’s instructions and applicable electrical code; don’t assume a 110-volt motor can use a 220-volt circuit, or vice versa. Install the disconnect within sight, ensure proper grounding, and have a qualified electrician verify wiring before startup.
If the motor hums or trips protection, stop and diagnose it safely.