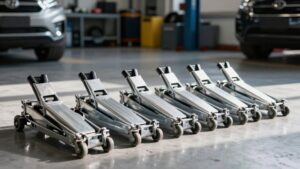
Home Garage Car Lifting Checklist: Jack, Stands, Chocks and Pads
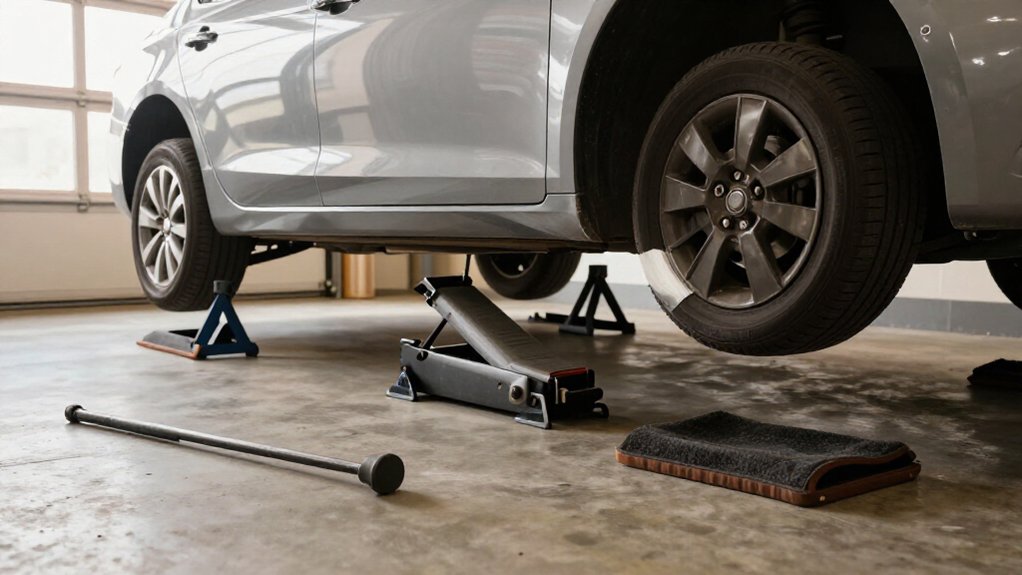
Before lifting your car, match the jack and stands to the vehicle’s weight and lift scenario; check each rating. Inspect the jack, stands, pads, and chocks for damage and operation.
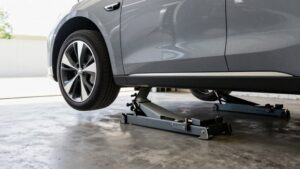
Park on firm, level ground, use factory lift points, and fit pads flat across pinch welds.
Chock grounded wheels on both sides. Lower onto locked stands; never trust hydraulics.
For uneven floors, stabilize bases with plates.
Verify lug torque to spec. Continue for the full checklist.
Lift-Day Kit Essentials
Before lifting, match a properly rated floor jack and jack stands to the vehicle’s weight, using at least 2-ton equipment for most compact cars (3-ton stands provide a safer margin), 3-ton equipment for many SUVs, and roughly a 3.5-4-ton jack with 6-ton stands for full-size trucks. Chock both sides of every grounded wheel; for a front lift, secure both rear wheels, and don’t trust the parking brake for rear lifting.
On asphalt or cracked concrete, place a wide, ¾-inch-or-thicker plywood or steel plate under the jack saddle and each stand base. Under-vehicle work requires stands—not the hydraulic jack—to carry the load. Carefully lower the vehicle onto the stands; confirm zero movement and stability, then recheck each stand’s lock and position before work.
Pad-to-Pinch-Weld Compatibility Matrix
Once your jack and stands are rated for the vehicle, check that the jack pad fits the pinch weld’s flat metal lifting surface and matches its width.
Compare contact geometry before lifting. The pad should support the weld across its width, not catch an edge. Choose a rubberized or swiveling design for grip and load distribution; avoid misaligned hard, flat plates.
| Pad-to-point condition | Action |
|---|---|
| About 2 in (50 mm) diameter or sized equivalent; full metal contact | Suitable |
| Pad narrower than weld or edge-loaded | Reposition or replace |
| Contact on plastic cladding or floor pan | Stop |
Confirm the pad won’t bottom out or flex. If the vehicle’s marked lifting point requires a model-specific adapter, use it; don’t improvise with stacked materials.
Keep the pad centered as you raise the car, and stop if it shifts, slips, or deforms the weld. Verify location against your vehicle’s lifting-point diagram before positioning the pad each time.
Load Ratings and Safety Margins
Select a floor jack and jack stands rated comfortably above the vehicle’s weight for the lift scenario, and check each rating separately.
Your capacity selection must match how you’ll support the vehicle: a full-vehicle lift differs from one-corner support, and dynamic bumps can increase forces. For cars under 4,000 lb, 2-ton gear is a minimum; but stepping up to 3-ton equipment gives you more margin.
For a 4,000-6,000 lb SUV or truck, use at least a 3-ton jack and 3-ton stands. Heavier vehicles weighing 6,000-9,000 lb may need 6-ton stands.
The stands, not hydraulic pressure, truly hold your vehicle if the jack leaks or releases. Ensure the weakest rated component can handle the load, including stress from uneven surfaces or settling; use compatible pads.
Pre-Lift Equipment Inspection
Before lifting, inspect your jack and stands for adequate ratings, proper operation, and visible damage; never use a hydraulic jack to support a vehicle. Check that your wheel chocks are intact, and confirm your jack and stand bases sit flat on solid pads, especially on asphalt.
Test the setup at the vehicle’s factory lifting points and make sure nothing rocks or exceeds its rated capacity.
Inspect the Jack
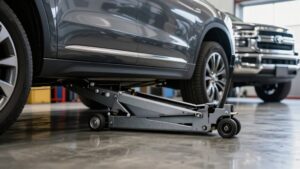
Inspect the floor jack before lifting to confirm it can support your vehicle and operate reliably. Check the capacity label and compare its rating with your vehicle’s weight; choose a safe margin, such as a 2-ton jack below 4,000 pounds, a 3-ton jack for 4,000–6,000 pounds, or a 3.5–4-ton jack for 6,000–9,000 pounds.
Inspect the saddle and lifting pad for cracks, distortion, or wear. A pad area of at least 2 inches improves contact at the jack point. Check for hydraulic leaks around cylinder and pump seals. Test the handle, pump, and release valve; stop if pressure drops abruptly.
Confirm the saddle’s height and lift range are suitable for the planned surface and lifting point. Ensure bolts are secure, wheels and casters fully intact, and the saddle unworn.
Check Jack Stands
Check each jack stand’s locking mechanism, base, and lift parts before use; reject stands with bent pins or teeth, cracks, leaks, deformation, or corrosion pitting. Confirm each stand’s rated capacity comfortably exceeds the vehicle weight it will support; a 2-ton stand may suit a light sedan, but a 3-ton stand provides margin.
Check the height range and select a locking position that fully engages at your target height; don’t accept an almost-locked setting. Inspect the saddle for wear, and verify it sits squarely on the factory jack point. Set each stand on clean, flat concrete, with no grit, oil, or debris between base and floor.
Check that the base won’t rock over small cracks. If any defect appears or engagement feels uncertain, replace the stand before lifting. Do not modify a damaged stand or rely on a partial lock; choose equipment whose rating and adjustment range match the load.
Examine Wheel Chocks
With the jack stands verified, examine each wheel chock for cracks, missing pieces, or rounded contact surfaces that could let a tire roll.
Inspect chocks before use and reject any damaged or worn unit. Use chocks every time you lift. Place them against the tread of tires that stay on the ground: chock both rear wheels when lifting the front and both front wheels when lifting the rear.
Set each chock flat on the concrete and confirm it makes contact with the tread, not the sidewall. Shift the transmission into Park for an automatic or first gear or reverse for a manual vehicle, then set the parking brake. Don’t rely on the brake alone; when lifting the rear, chocks provide primary roll prevention.
Verify Lifting Pads
Before lifting, verify that each jack or stand pad matches the factory jack-point shape and provides stable contact—typically at least 2 inches in diameter. Confirm the pad’s profile suits the specified pinch weld or subframe point, and position it so it won’t bear on floor-pan sheet metal, the exhaust, or another unrated area. Wipe the contact surface and pad clean and dry; oil, rust, or debris can prevent full seating and allow the pad to slip.
If you place a plywood or steel plate beneath a jack or stand, especially on asphalt, use one at least ¾ inch thick and wide enough to support the entire base. Check your vehicle and equipment instructions before loading, then center the pad over the approved point.
Look for Damage
Even if your lifting equipment worked last time, inspect it for damage before use. Inspect your jack stands for bent posts, cracked welds, missing or corroded pins, and gouged or deformed saddle surfaces. Check your floor jack for hydraulic leaks and a firm handle and cylinder feel; creep under load signals trouble.
Ensure its lifting pad is intact and offers contact at the vehicle’s jack point.
Examine wheel chocks for cracks, worn smooth or rounded edges, and missing grip surfaces that could reduce friction. Inspect plywood or steel support plates for cracks, delamination, or rust-through. Use plates at least ¾ inch thick to resist sinking into heat-softened asphalt.
Finally, verify stand lock teeth, base footprint, and adapters suit your vehicle’s weight and lifting setup.
Positioning Chocks Before Lifting
Since a raised vehicle can roll, chock the wheels before every lift; chocks cost under $15. Set your automatic transmission to Park or your manual transmission to first gear or reverse, then firmly apply the parking brake. Don’t rely on it alone.
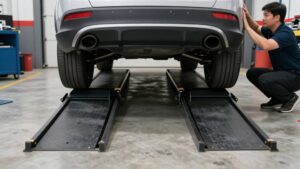
For a front lift, place chocks against the tread on both sides of the rear wheel or wheels. For a rear lift, chock both sides of the front wheels, because the parking brake often locks only the rear. Position each chock to block forward and backward movement; never press it against the sidewall.
Chock both remaining ground wheels whenever possible, especially on a slight slope, to prevent movement that could shift the vehicle’s lift geometry. Confirm each chock sits squarely against tread.
Never Rely on Hydraulics
Hydraulic jacks are designed to lift a vehicle, not hold it; small seals and fluid pressure can fail or leak, causing a sudden drop.
Never rely on the jack as your only support. Before you go underneath, lower the vehicle onto properly rated jack stands; a hydraulic system can release pressure after seal failure or seepage.
A handle bump or pressure fluctuation can destabilize the lift.
Choose stands that meet or exceed your vehicle’s load requirements and include a safety margin. For example, use at least 2-ton stands for cars under 4,000 pounds and 3-ton stands for many vehicles weighing 4,000–6,000 pounds. Check the manufacturer’s ratings and support points.
Confirm the car rests firmly on both stands, not the jack, before under-vehicle work.
Changing a Flat Tire
Changing a flat tire safely starts with preventing the car from rolling: park on flat, hard ground, set the parking brake, and chock both sides of the wheels that will remain on the ground.
Use your owner’s manual to locate the designated jack point, typically a pinch-weld or frame contact. Never lift at the oil pan or transmission pan. Choose a rated floor jack, or the spare jack, and raise only enough to clear the flat tire.
Before removing the wheel, lower the car onto a stable jack stand or secure emergency support; don’t work beneath a jack-supported vehicle alone.
After installing the replacement, raise the car to remove the support, then lower it fully. Torque lug nuts to spec and recheck tightness before driving.
Uneven Garage Floors
Uneven garage floors can shift the load between jack stands, causing unsafe settling even when both stands are properly rated. If your garage has a slope or dip, level it with structural steel plates or plywood at least ¾ inch thick beneath both the jack and stand bases. Never correct only one corner.
- On asphalt or cracked concrete, use steel plates to spread each base’s contact area; re-check for movement before you get underneath.
- On a driveway, lift the uphill side first and chock all wheels that remain on the ground to prevent shifting as you raise the vehicle.
- After raising the car, gently push it and confirm it doesn’t rock or slide. If it moves, lower it and correct the setup before proceeding.
Verify Lug Nut Torque
Always verify lug-nut torque with a calibrated torque wrench and the specification in your owner’s manual; the correct value varies by vehicle and wheel type.
- Check the exact specification in your manual; many passenger cars use roughly 80–120 lb-ft, but never assume that range applies to yours.
- With the wheel installed, lower the vehicle to the ground or support it as instructed. Tighten each lug in a star or crisscross pattern using your calibrated wrench.
- Keep alloy studs dry unless the manufacturer specifies lubrication; lubricant alters clamping force at a given torque. After driving 25–50 miles, or as your manual directs, recheck each lug.
If a fastener turns unusually far or won’t hold torque, stop and inspect the threads, seat, and wheel before driving.
Conclusion
Before you lift your car, match the jack pad to the vehicle’s approved lift point and confirm every component’s rating exceeds the load. Inspect the jack, stands, pads, and chocks; place chocks securely, account for an uneven garage floor, and don’t work beneath a vehicle supported only by hydraulics.
After lowering, tighten lug nuts to the manufacturer’s specified torque with a calibrated wrench. If anything shifts, settles, or feels uncertain, stop and reset.