How to Use an Engine Hoist to Pull an Engine Safely
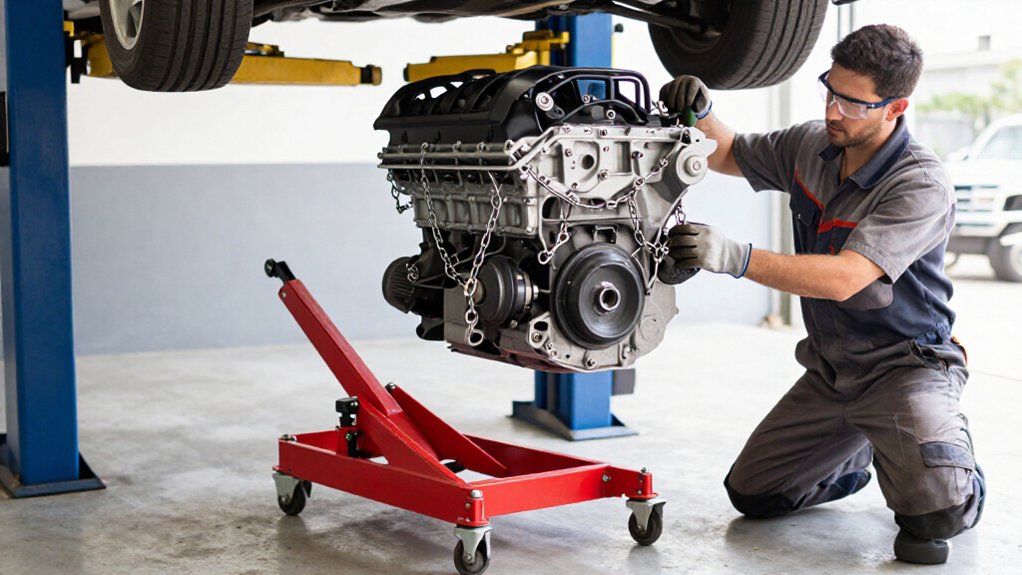
You can pull an engine safely by checking the hoist’s stamped capacity at the boom’s actual reach; include the engine, lift plate, chain, and hardware, with at least a 20-percent margin.
Inspect chains and approved lifting points, secure the vehicle, and disconnect every line, wire, hose, and ground strap.
Take up slack, lift slightly, and pause to check for binding or sway.
Raise only when clear, then lower onto a rated stand.
More checks prevent surprises.
Confirm Hoist Weight Rating
Before connecting the engine, check the hoist’s stamped load rating against the engine’s estimated weight, including any adapter or lift plate, chain, and other hardware.
Use the vehicle’s service specifications or a parts chart to estimate engine weight; don’t guess. Add the hoist’s capacity for your exact reach-bar and lifting setup, because its rating may drop as boom height or angle changes. Include all attached hardware and preserve at least a 20-percent safety margin.
Keep the load centered over the boom; an off-center attachment or side load can increase force on rated components. Before raising, take up slack and check that the chain hangs vertically, the hoist moves without binding, and the load feels stable. Don’t lift if the rating or setup remains uncertain.
Gather Hoist Tools and Gear
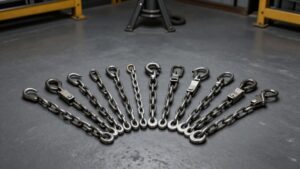
Gather a properly rated engine hoist, an engine lift chain, and the correct lifting accessory, such as a lift plate for many carbureted and throttle-body fuel-injected engines. Before lifting, inspect every hook, chain, and lift point for cracks, damaged links, or sharp edges; wear gloves and eye protection.
- Match the lift plate to the engine’s configuration so force spreads evenly.
- Add a load leveler when you need fine control of engine angle during raising and positioning.
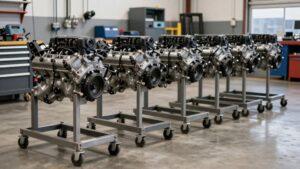
- Keep an engine stand ready, stable, and rated to support the engine after lowering.
- Use short chain lengths to connect selected lifting points securely.
Confirm the hoist’s capacity exceeds estimated engine weight by a safe margin, and verify the stand’s supports and retaining hardware before transferring the load.
Step 1: Clear Engine Connections
With the vehicle secured and the hoist ready, disconnect every engine connection except the transmission and motor mounts, fuel and vacuum lines, electrical connectors, coolant hoses, and ground straps, so nothing snags as the engine rises.
You should wear gloves and eye protection while you disconnect lines and cables; control sharp edges and debris to avoid damaging hoses or nicking wire insulation. Attach the lift chain or plate only to approved engine lifting points, not brackets or fragile components.
Remove slack by raising the engine just enough to relieve mount tension, then pause. Recheck around the intake and exhaust, radiator hoses, and wiring harness. Inspect all sides for remaining hardware, including starter wiring, throttle or body linkage, and transmission cooler lines, before you continue upward.
Step 2: Set the Boom’s Rated Reach
Set the boom’s reach by measuring the horizontal distance from the hoist post to the engine’s center of gravity, then check the hoist’s capacity chart for that setting. Use the marked capacity slots or decal, and match the engine’s weight to the rating for that exact reach. The hoist’s maximum rating applies only at its shortest reach; extending the boom lowers its capacity.
Don’t estimate or rely on a higher rating shown for another setting. Keep the lift chain as close to vertical as practical. An angled chain increases the effective load on the hoist and can exceed its safe capacity, even when the engine’s weight appears within the chart limit.
If the required reach exceeds the chart’s allowance, reposition the hoist or vehicle. Don’t extend the boom beyond a rated setting or compensate by assuming the hoist can handle more. Verify the boom pin locks securely in the selected hole after adjustment.
Step 3: Lift Slightly and Check Connections
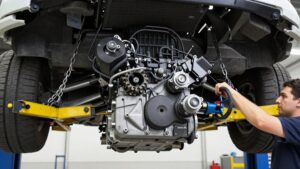
Lift the engine only enough to remove slack and take tension off the motor mounts before fully unbolting them.
While it’s slightly raised, recheck every line and wire you expect to have disconnected. Pay particular attention to the starter area, fuel and EVAP lines, and ground cables. Pause with the engine suspended at low height.
Check clearance around the chassis; confirm hoses, harnesses, and brackets aren’t contacting it.
Only lift slightly again after you confirm there’s no resistance. Keep the load level, using a load leveler if available, to avoid stressing connections unevenly. Watch the mounts and attachments as tension shifts. If you feel binding or see an attachment tightening, stop immediately.
Lower the engine enough to relieve the load, then reverify that nothing remains connected. Don’t force a lift past an unexplained hold; identify and correct the connection before continuing.
Step 4: Roll Engine Clear of Car
Once the engine just clears the bay, pause and check around the transmission, wiring, and hoses for any remaining attachments.
If the path is clear, keep the hoist controlled and level. Use a load leveler if needed to prevent the engine from binding against the body or transmission tunnel as you pivot it out.
Before removing the mounts, take up hoist slack by lifting only enough to relieve mount tension; then unbolt them without jerking the engine.
Confirm clearance, then roll the vehicle away on the floor rather than pulling the suspended engine laterally. Keep everyone clear of the beneath the load.
When you prepare to use an engine stand, lower the engine only to the lowest safe load for a sequence without swinging.
Step 5: Wait for Load-Swing Settling
After taking up slack at the motor mounts, pause and let the engine’s swing settle before unbolting anything.
Keep the hoist controls smooth; sudden starts or stops can create oscillation that lasts several seconds after movement ends. If the engine sways, hold it at that height and let the motion dampen naturally. Don’t chase the load with repeated corrections, which can renew the swing.
Before checking or removing remaining connections, confirm the engine shows minimal side-to-side movement. As it settles, its alignment with hoses, wires, and clearance points may change; inspect these only when the load is stable. Move the hoist to another position only after the swing stops completely and the engine hangs level. Use a load leveler if you need alignment.
Step 6: Bolt Engine to Stand
With the engine supported by the hoist and load leveler, raise it just enough to align the stand’s mounting holes with the factory mounting points. Select the bolt grade, typically SAE Grade 8 or equivalent, and fit washers where necessary. Begin every bolt by hand before snugging them evenly in a cross pattern; this helps avoid misalignment and stress on engine brackets.
Prior to transferring weight, ensure the stand’s locks or legs are secured and its base rests on level flooring. Slowly ease the hoist load onto the stand, then verify that the engine sits level and secure. Adjust the stand’s tilt if available, and lower the hoist to remove residual tension. Inspect chain and plate clearance, and confirm the engine can’t shift before disconnecting the hoist rig.
Verify Mounting Bolts Are Tight
Before lifting the engine clear of its mounts, verify that every motor-mount bolt and through-bolt is fully seated and tightened to the manufacturer’s specification, with all required washers installed. Confirm you tightened the hardware with the hoist supporting the engine, not the mounts or suspension alone, to prevent movement during tightening.
Inspect for pulled threads, missing washers, or gaps between mount surfaces; correct any defects before proceeding. Use the manufacturer’s service information for torque values, and replace damaged hardware before you continue with engine removal.
Take up slack and lift slightly to relieve mount tension. Recheck bolt tightness and confirm mounts remain firmly clamped to the engine bracket and subframe. Raise the engine enough to load the mounts, then check for rocking or side-to-side play.
Hydraulic Ram Won’t Hold
If the hydraulic ram won’t keep height, lower the hoist onto the engine support so the ram carries only a light load, then confirm the hoist’s rated capacity meets the engine’s actual weight. Read the load-rating plate; overloading can cause internal bypass and pressure loss. Check fittings, cylinder seals, and hose connections for leaks; fluid or air loss can let the load drift. After moving or refilling, purge trapped air, which compresses and allows slow descent.
Ensure the release valve linkage works and the valve’s fully closed; partial opening circulates oil internally. Remove slack and balance the chain and plate; settling on mounts can mimic ram failure securely.
| Check | Action |
|---|---|
| Leaks | Inspect seals, fittings, hoses |
| Air | Purge after moving/refilling |
| Valve | Confirm fully closed |
Drain Fluids and Cap Lines
Drain the engine oil and coolant into separate clean containers before lifting to prevent spills and reduce the load. Wear gloves and eye protection while draining; residual fluid can spray when you loosen fittings.
Drain the fuel system only after you’ve relieved its pressure according to the service procedure. Disconnect the fuel rail or regulator line, if fitted, and cap both open ends promptly to limit leaks and contamination. Cap or tape disconnected vacuum and breather hoses so dirt can’t enter the intake or crankcase passages during removal.
If you’re separating the powertrain, check transmission and transfer-case hoses or lines; drain or plug them where needed to stop fluid loss as the engine comes free. Keep caps secure until reassembly, and dispose of fluids.
Conclusion
You’ve safely pulled and secured the engine by confirming the hoist’s capacity, setting its rated reach, and checking every connection before lifting. Keep the load stable, verify the stand bolts are tight, and never work beneath a suspended engine.
If the hydraulic ram won’t hold, lower the load safely and stop using the hoist until it’s inspected or repaired. Drain fluids and cap lines to prevent spills. Follow the hoist and stand manufacturers’ instructions throughout the job.